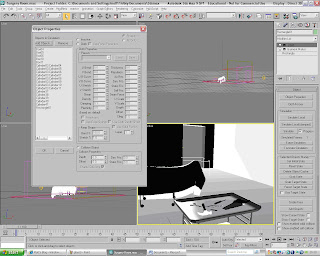
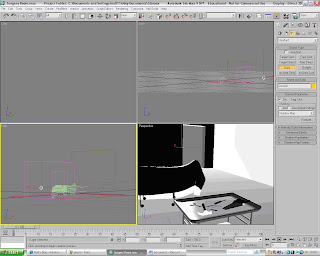
This is the third part of the Creation of the October Image. To create the body shape that will go under the Cloth I used Cylinders and Boxes that I then modified and placed them into the correct position. I had to create a rough look of a body to make the scene look more realistic and for the sheet to be placed over it. I then placed the body onto the operating table ready for the sheet to placed over it. I didn't need any textures on the body because it wont be seen.
The next stage was to create the sheet that is going to be placed over the top of the body. I had to first create a rectangle that will become the sheet and convert to a poly. I then had to use the modifier called 'Garment Maker'. This is located in the drop down menu in the Modifier panel. This tool converts the rectangle into a material and allows the modifier 'Cloth' to be added to the rectangle. The 'Cloth' modifier is located in the same drop-down menu as the 'Garment Maker'. Once the 'Cloth' option has been the selected a menu panel appears at the right hand of the screen. This panel is used to create the cloth animation which will give the sheet its final look. Next you have to click on the 'Object Properties' Button which will load up a pop-up Menu called 'Object Properties'. You then have to add the body and the table which the sheet will lay over into the 'Objects in Simulation'. You then have to highlight all of the objects in this menu apart from the Sheet (Rectangle) and then click on the option 'Collision Object' which is a little check box. The next thing to do is to click on the sheet and then click on the check box named 'Cloth' located at the top of the screen. Now you have to click on OK and then click the button named 'Simulate Local'. The Simulation will now run and the Cloth will be placed over the body and the operating table.

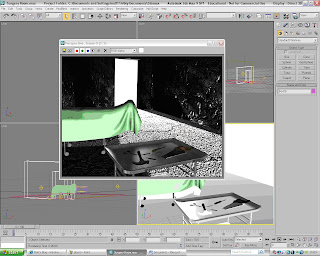
This is what the cloth looked like when the animation was complete. The addition of the body under a cloth really adds to the mood of the image and creates a focal point for the audience observing it.

I then added some lighting to the scene to give the scene more atmosphere. I used a 'Target spot' for the light coming through the door way and I have also used some Omni lights to the scene. The picture below is the final rendered image of the October Image. All that is needed now is to transfer it into to photoshop and then add the finishing touches.


No comments:
Post a Comment