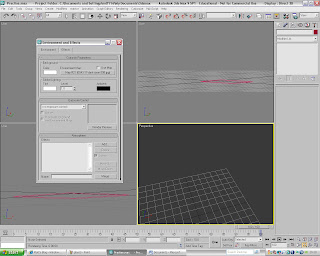
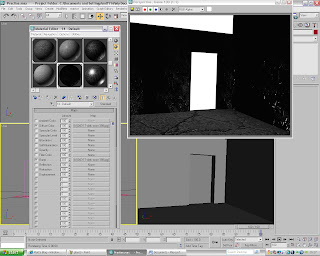
This is the first part of the October Image Creation. October Image is a scene of a surgery that has been made scary. It is meant to look like some kind of scene from a horror movie. The first stage was to set the background color. For this image I will use the background color white. This will act as the color that appears through the doorway in the picture.

The next stage is to create the floor. I have used a box for the floor which I have resized to give the shape that I want. To make the floor look more realistic and more in charcter with scene I added a Cracked Concrete texture. I found this image on the internet and then imported it into my Material editor. To give the floor texture more depth I have also add the same texture onto the bump map which is located in the maps section of the Material editor. I then dragged the concrete texture onto the floor. When I intially did this the texture didnt give me the look that I was after. I had to attach a 'UVW map' to the floor which allowed me to modify the look of the texture.
The next stage was to add walls to the Surgery room. To create the walls I used the box creation tool which is located in the Create menu at the right hand of the screen. I then had to create the doorway which is going to be one of the main focal points of the scene. To create this door I had to use the tool called 'ProBoolean'. I had to first create a Box that is the shape of the doorway and then place it so that it was inside the wall. The box had to be wider than the wall to ensure the 'ProBoolean' tool would cut away the width of the wall. I then selected the wall and then went to the 'create' panel and I selected the 'Compound Objects' option from the drop-down menu. I then selected the 'Pro Boolean' option and then from the menu at the right hand of the screen clicked the check box named 'Subtraction'. I then clicked on the button 'Start Picking' and then selected the box. The box has now been subtracted from the wall. This gave me the look that I was looking for.
The next stage is to add texture to the walls. To do this I found an image of the internet and then edited in Adobe Photoshop. I then imported it into the Material Editor. I also used the same map for the bump map to give the walls more texture and the image more depth.

The next part of the creation of the October image is to create the metal table were the surgical instruments will be placed. I started out by creating the base of the table. To do this I used cylinders and then placed them to make the table look like it has a structure. I then created a box and then placed midway up the table and between the two sets of legs.


No comments:
Post a Comment