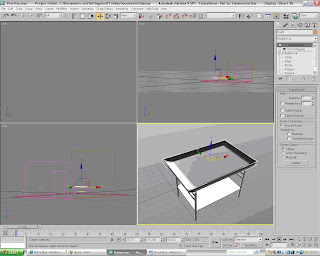
This is the second part of the creation of the October Image. The next step is to create the top of the table. I started off by creating a box which will be the main body of the tabletop. I made sure that when I created it I used lots of segments. I used about 15 for the each of the hieghts, Length and the width. This will then allow me to get the shape that I wanted for the table top. To get the curved edge I highlighted the edge of the the table and used the tool 'TurboSmooth'. This smoothed the edge to get the look that I wanted.
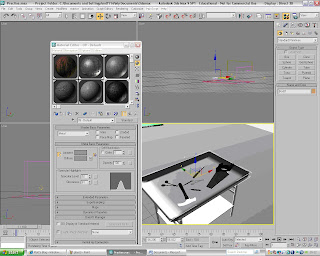
The next step was to add the texture to the table to give it more realism. I first found some textures off of the Internet and then transfered them into Adobe Photoshop. I then modifyed the Bitmap image and I then imported it into the Material Editor in 3Ds Max. I then transfered the material onto the Shapes that make up the Table. The Shader Basic Parameters that I used for the table materials was 'Metal'. This made the material look more like metal which was the look I was after.
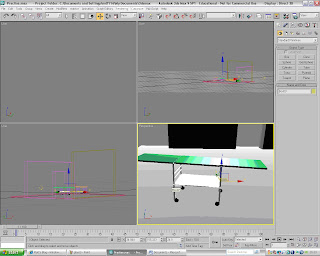
The next stage of the October Image is to create the operating table where the body will be placed. The Body will have a sheet placed over it so that doesnt need to be much detail implemented into the table. To create the table I used the same technique that I used for the other table. I used cylinders for the legs and boxes for the actual surgery tabletop. The one difference of the operating table was to create wheels. I used cylinders that were rotatated and resized amd then moved into position. The wheels give the table more detail and make the image more interesting. I then added the same textures to the operating table as I have done for the other table.

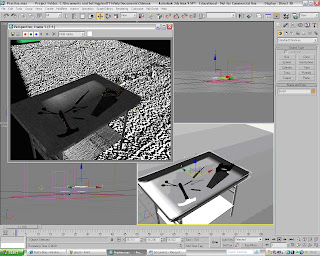
The next stage of the Image is to create the tools that will be placed onto the table. I created them using Splines which I then extruded the shapes. This made them look more like 3D images and added to the dark feeling of the picture. I had some trouble when I created the handle of the Saw. To create the handle I first create the outline by using the spline 'Line' tool. I then converted it into a 'Poly' and then extruded the face. This made it look more 3D. The next step was to create the whole in the handle. To do this I had to use the tool 'ProBoolean' to cut out the shape. I first create a sphere and then placed inside the handle where I wanted the hole to be. I then selected the 'ProBoolean' tool located in the Compound Objects Menu at the right hand of the screen. I then Subtracted the Sphere from the Handle and this gave me the shape that I wanted. I then had to add the textures to the tools to make them look more realistic and make them look part of the scene.

This is what the tools look like when they are fully rendered and with the Textures.


No comments:
Post a Comment